
The first step to sharing your code and collaborating with others is creating a GitHub profile. Here’s a step-by-step guide:
Go to GitHub: Open your web browser and navigate to https://github.com/.
Sign up: Click the “Sign up” button.
Enter your information:
- Email address: Enter a valid email address that you have access to.
- Password: Create a strong password.
- Username: Choose a unique username. This will be part of your GitHub profile URL (e.g.,
github.com/<username>).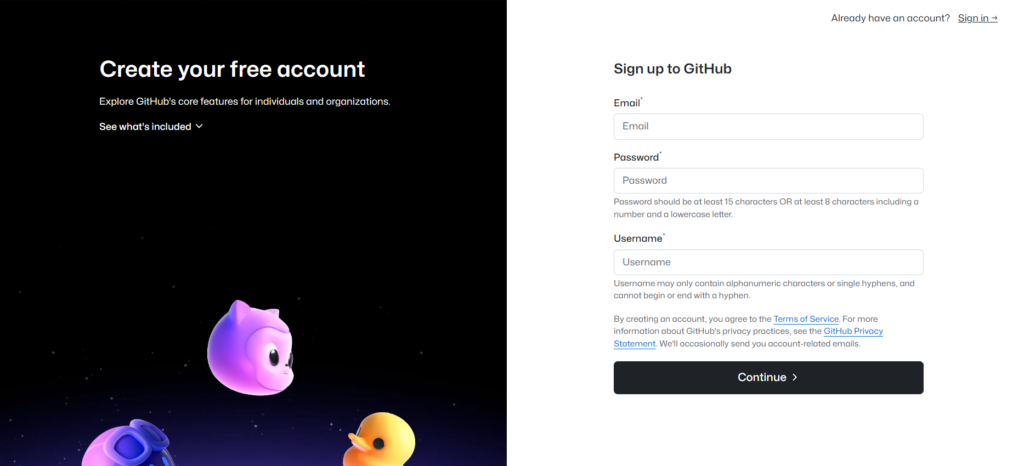
Verify your account: GitHub will send a verification email to the address you provided. Open the email and click the verification link.
Complete the setup: After verifying your email, you may be asked a few questions to help GitHub customise your experience. You can usually skip these if you want to.
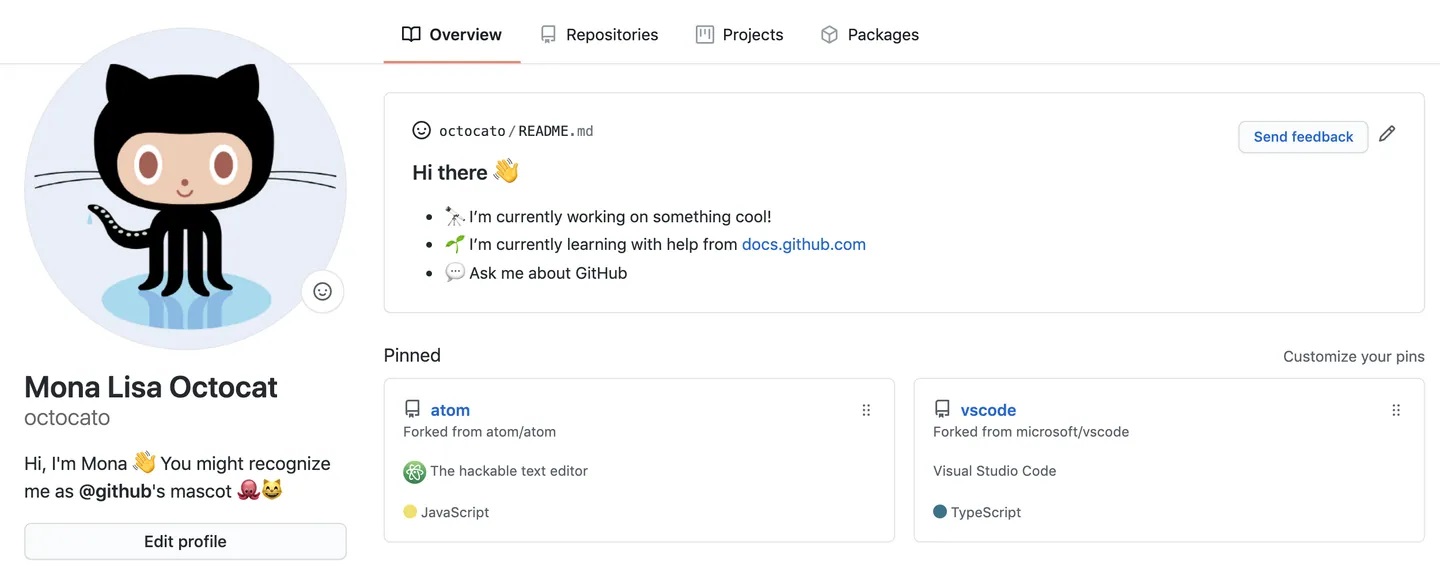
Customise your profile:
- Profile picture: Add a profile picture to make your profile more personal.
- Bio: Write a short description about yourself and your interests.
- Social accounts: Add links to your other online profiles (e.g., LinkedIn, Twitter).
Now you have a GitHub profile, it’s time to create your first repository. A repository is like a folder where your project’s files are stored.
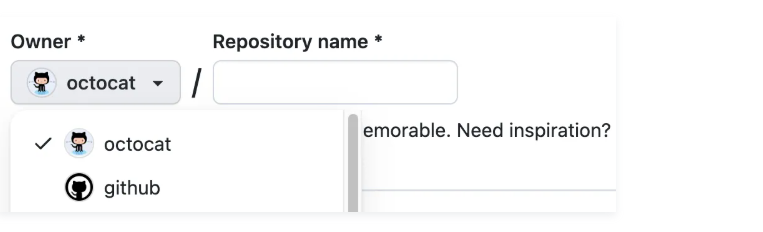
Click the “+” button in the top right corner and select “New repository”.

Give your repository a name (e.g., “my-first-project”).
Choose whether you want your repository to be public (visible to everyone) or private (visible only to you and the people you choose). Public repositories are free, private repositories have limitations for free accounts (number of collaborators).
Optionally, add a description for your repository and initialize this repository with Add a README file (this creates a README.md file that serves as an introductory documentation for the project, it is recommended that you create one), .gitignore (allows you to define files and folders that Git will not track), and choose a license (allows you to choose a license for your project).
Click “Create repository”.
Using the command git clone <repository URL> clones the repository from GitHub.com to your local computer, making it easier to resolve conflicts when merging, adding, or removing files.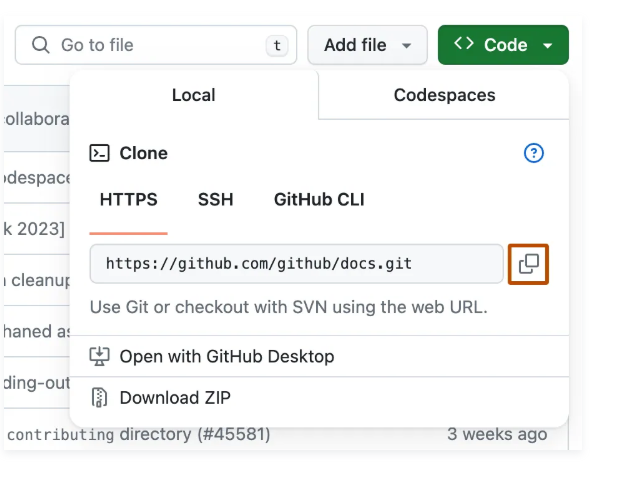
In GitHub, you can create files and folders for your project. Using Git commands, you can track changes, commit them, and upload them to GitHub.
When developing my C++ projects, I used a strategy of frequent commits. After implementing each piece of functionality, such as generating random numbers, I created a commit with a brief but concise description. This allowed me to have a clear history of changes and easily revert to a previous version if necessary. For example, when I implemented input handling so that the program wouldn’t crash when a non-numeric character was entered, and the new implementation caused unexpected behavior, I used the git revert <hash_commit> command to revert the changes from that commit. This created a new commit that undone the changes, preserving the complete history of the project.